Wednesday, December 22, 2010

Merry Christmas!!!

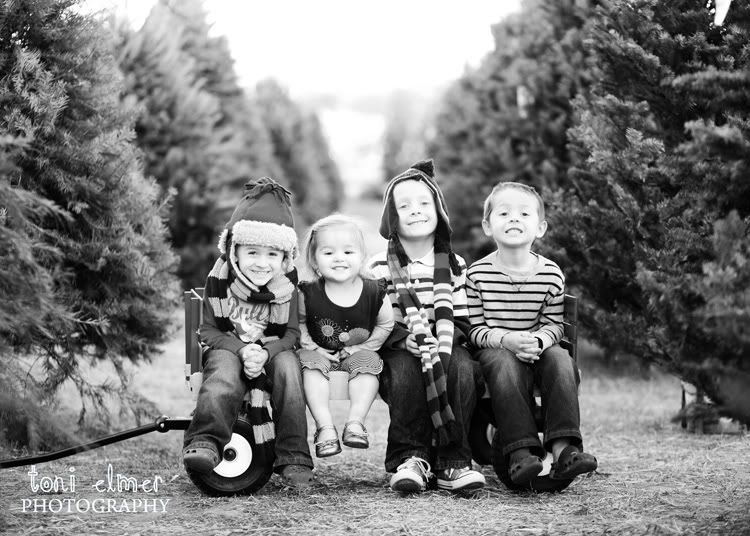
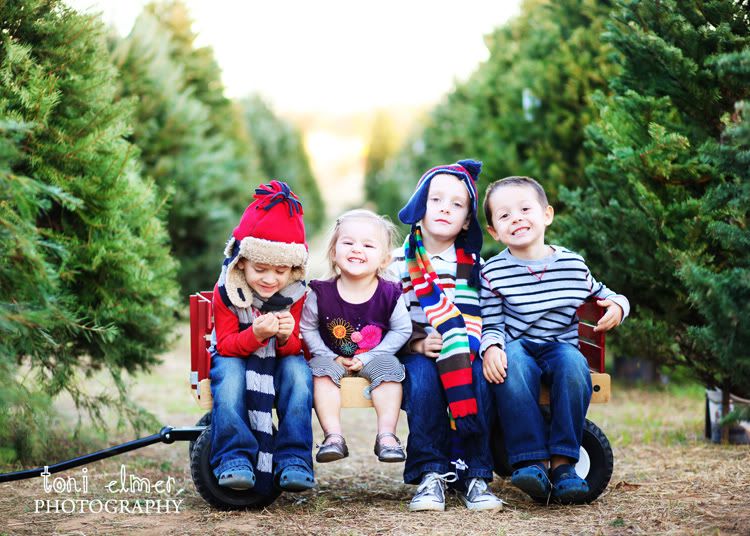
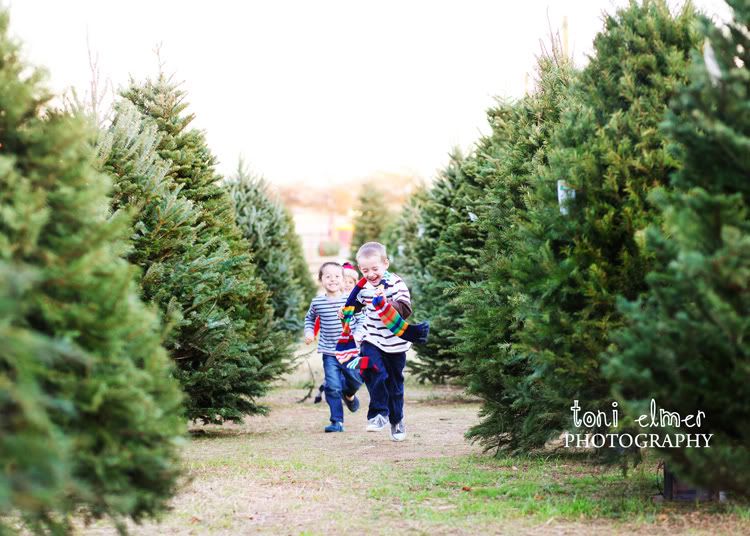
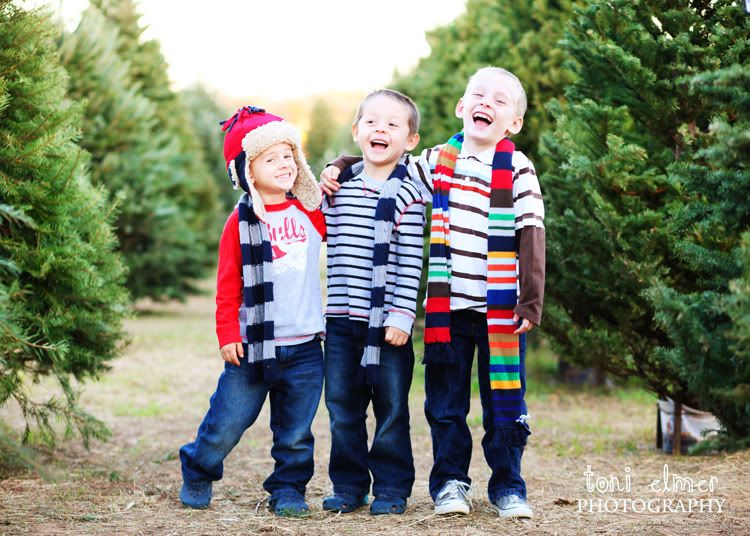
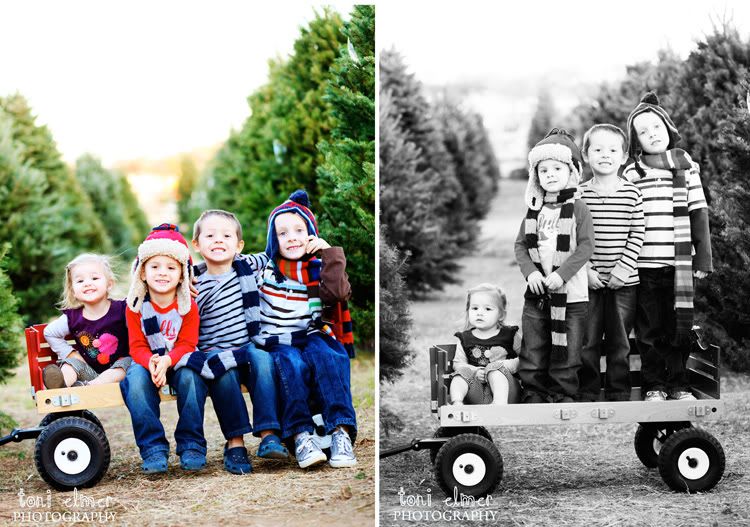
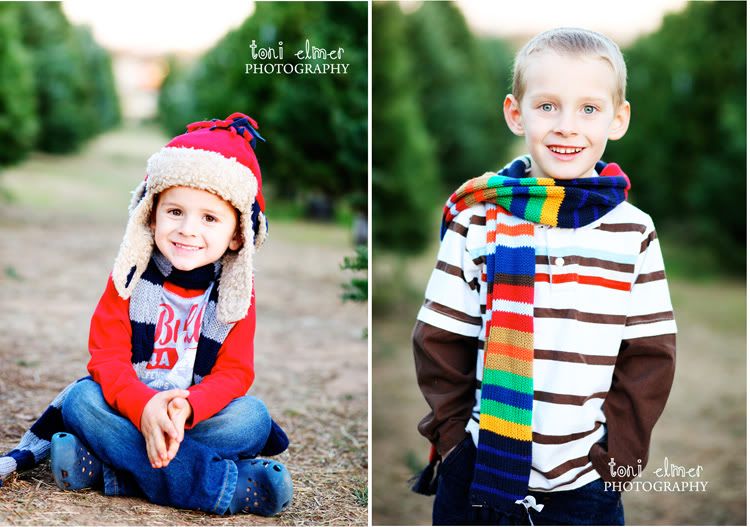
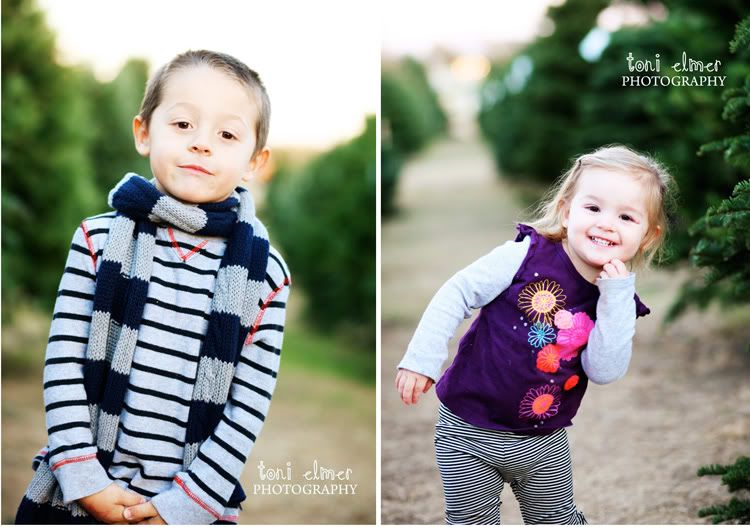
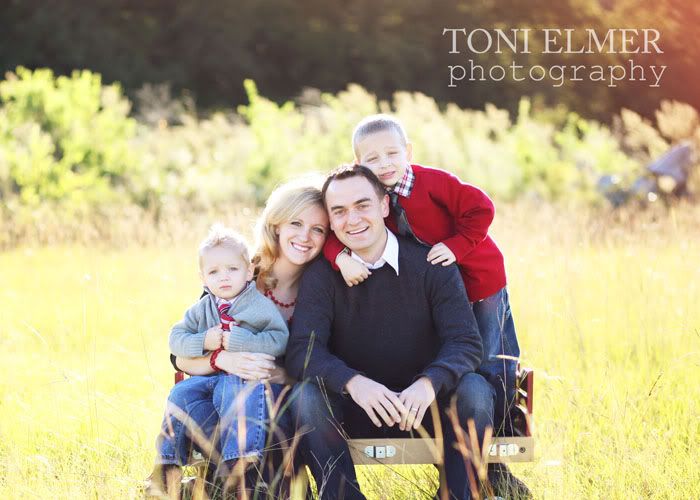
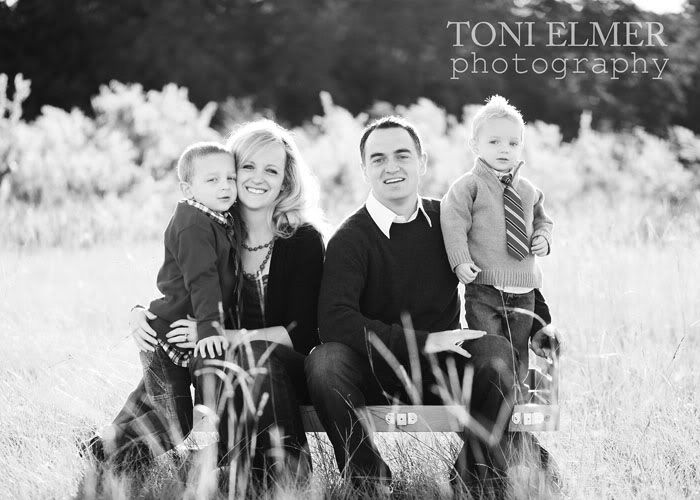
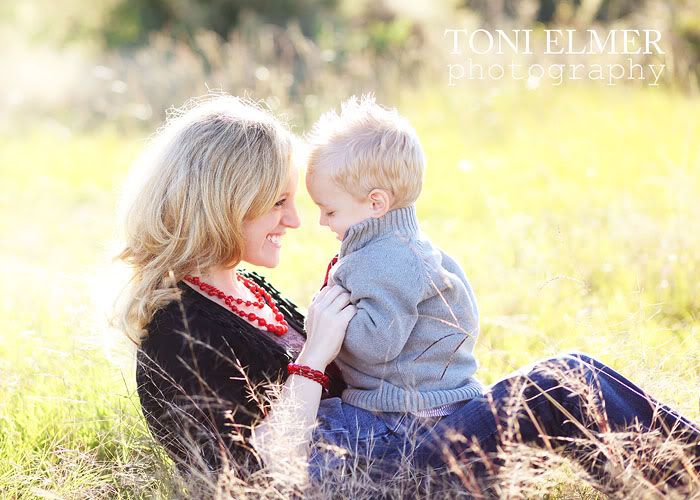
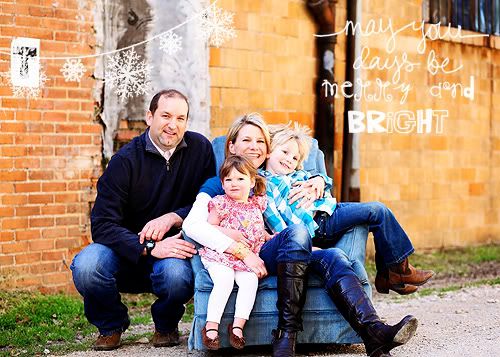
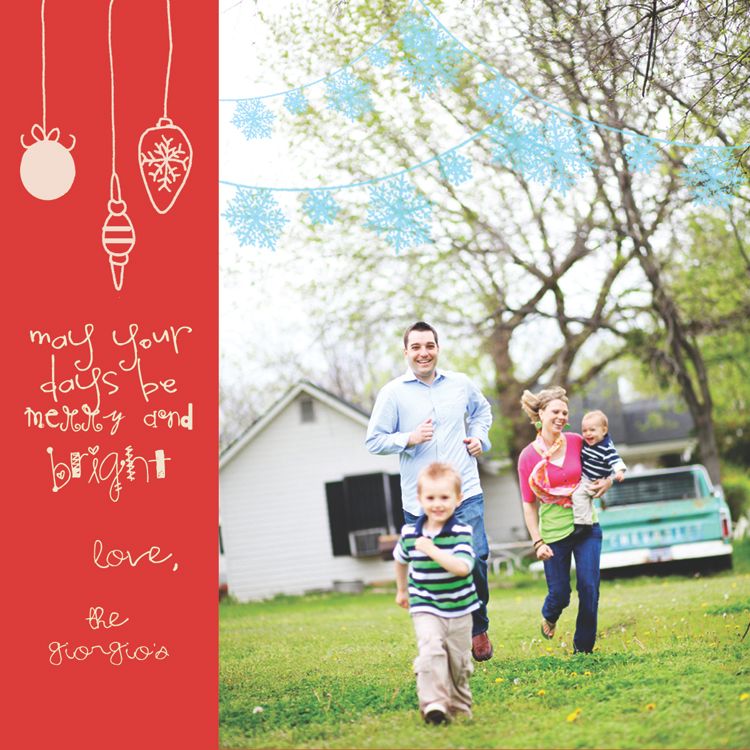
From our family to yours, merry christmas! We thank all of the wonderful families that have come to us this year! We had a great time meeting you all and photographing your most precious memories!

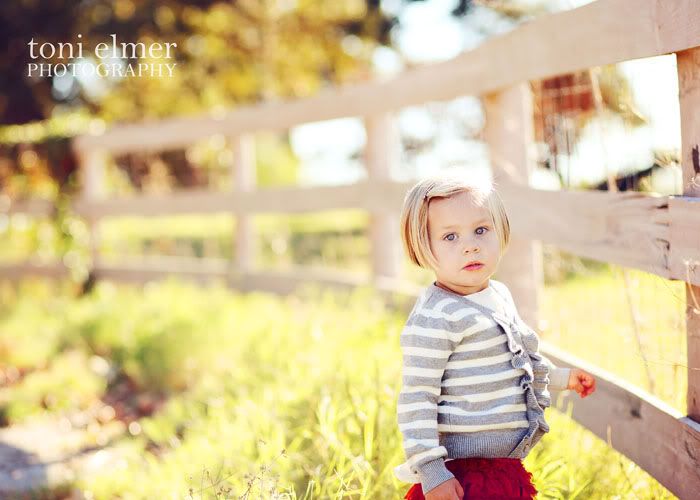
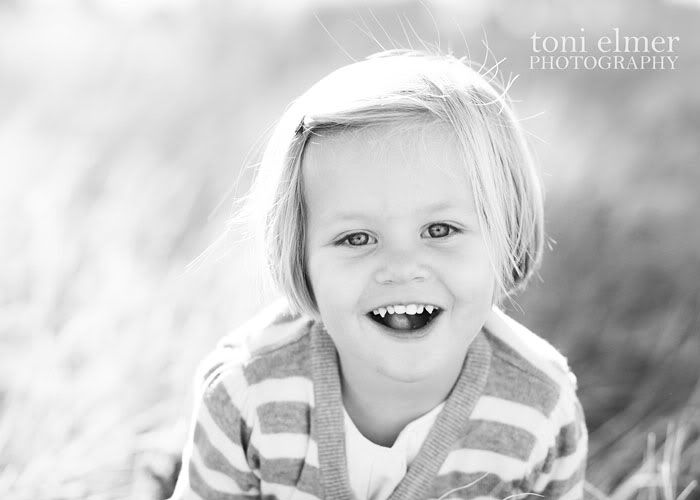
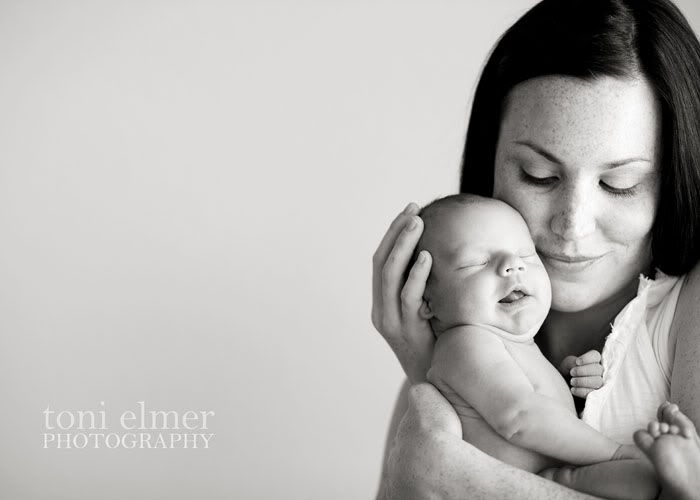
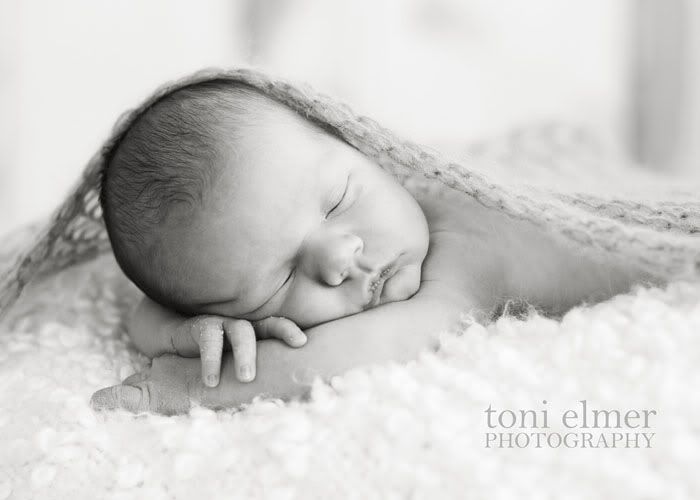
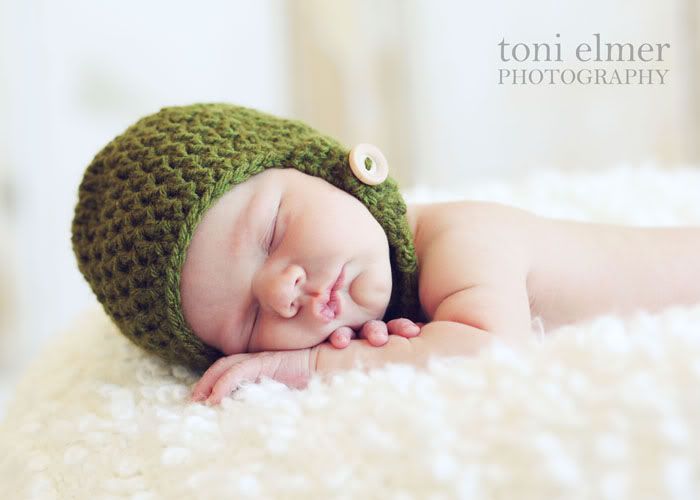
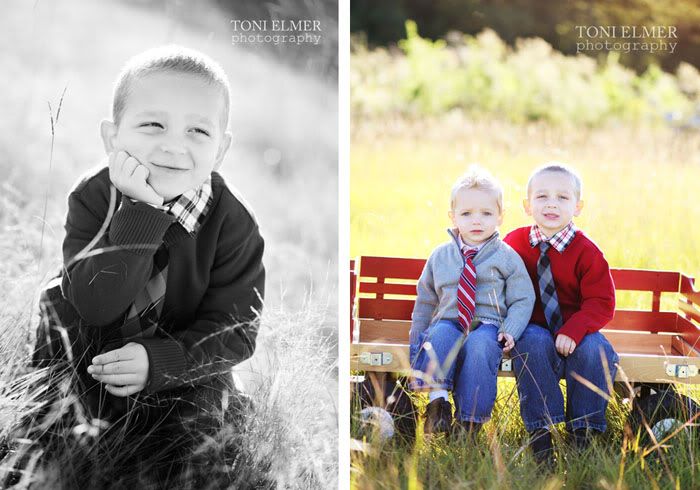
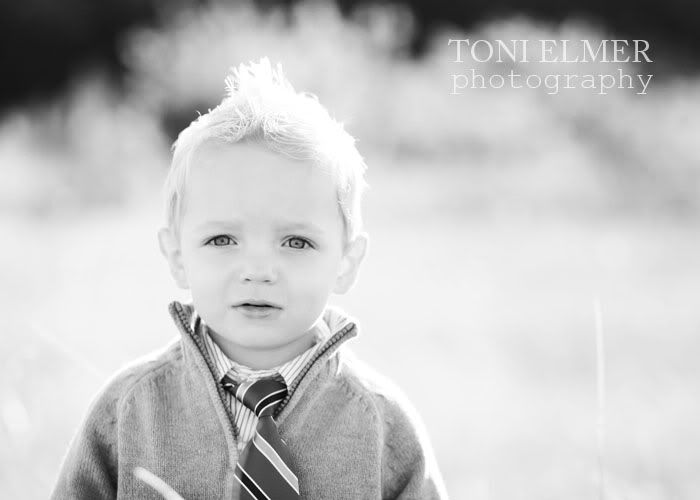
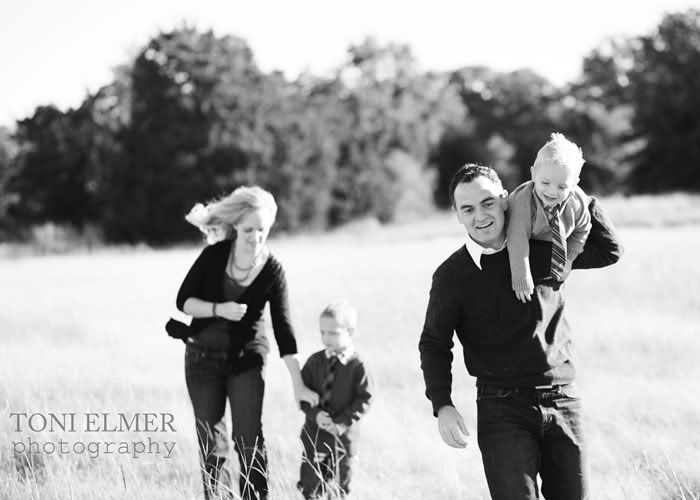
We'll be going on a short break while we wait for the arrival of baby number 5... looking at the pictures below i'm not sure this little bunch knows what they're in for!! But we're ready and SUPER excited!

So Merry Christmas and Happy New Year!!! Here's to a great 2011!!


Photobucket

Photobucket

Photobucket

Photobucket

Photobucket

Photobucket

Photobucket

Photobucket

Photobucket

Friday, December 10, 2010

Another calendar set!

I've been busier than ever wrapping up sessions, making gifts for loved ones, preparing for class parties, and um... GETTING READY FOR BABY! I can't believe it's almost time. It's really 3 or 4 weeks away still, but I know I won't last that long. Maybe another week... I always have my babies around 2 weeks early. SO that would be next weekend! I'm feeling excited to not be pregnant, nervous to have five kids and the whole hospital experience... mine have never gone smoothly, and even sad... sad to know that this will probably be my last time to go to the hospital to meet a new little person and to feel that closeness of the heavens opened as this little soul enters the world.

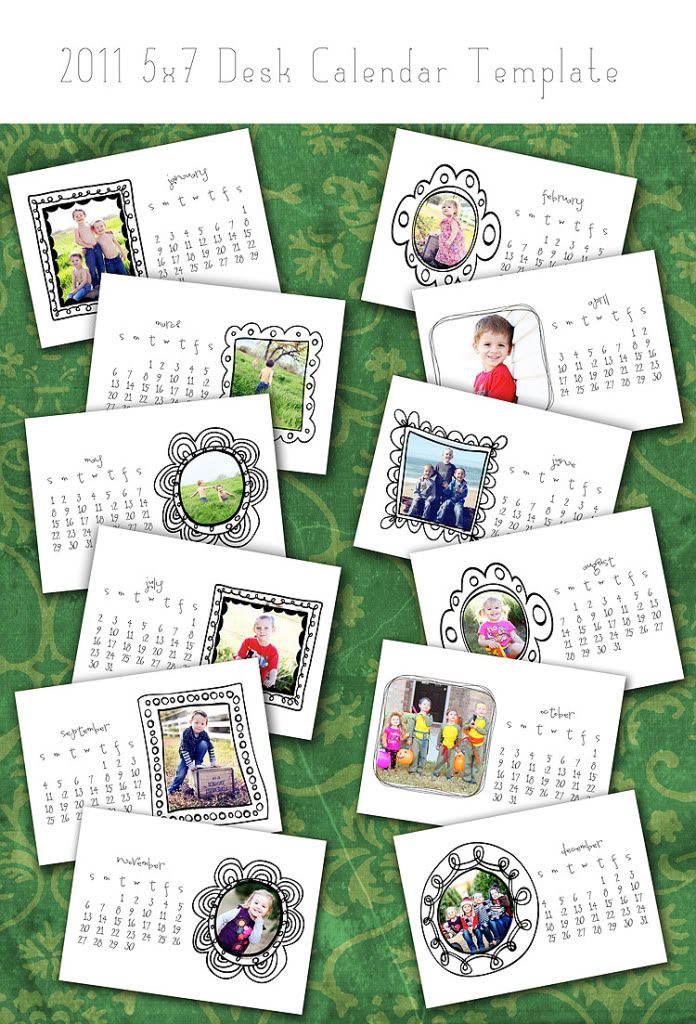
But with all that business I still manage to find time to make a few new things! Here's one of them! This is for all those people that don't want to take the time to put pictures in templates! It's a full little typography calendar if you will! A little funky! A little fun! Perfect to start off the new year!

This is a printable calendar. I will email you the files in jpeg and pdf format so you can either print on 5x7 photo paper, or just regular paper... it's up to you! Get a cute frame or a fun little easel and you're done!

Photobucket


Thursday, December 2, 2010

2011

I just added a fun little calendar to my collection of things. THis 2011 calendar is editable, so you can change the colors or fonts if you' like. Or just leave it like it is. Add your own photos and it's a great gift for Grandma's, clients, or yourself! And it's cheap! So get it fast!!! YOu can find it in my shop, you can find it in my templates section at the top of the blog, or you can just hit buy it now!

Price: $15!!!

Photobucket


Wednesday, November 10, 2010

Toddlers and babies!

I recently got see one of my favorite little people again. This is my third year to photograph her and I love her so much! She ran up to me as she got out of the car and gave me big huge hug!! It was the best!!!

Photobucket

Photobucket

Photobucket

And because I know there's Mama's and Grandma's that would LOVE a little sneak peek of this guy here you are miss Molly!!! Thank you for bringing over your little guy and letting me play with him! We're super excited to have a new cousin!

Doesn't she look A-MAZING.

Photobucket

Photobucket

Photobucket

Photobucket

Monday, November 1, 2010

nothing better than family.

I had a great session with an awesome family! There's nothing better than family. Especially ones that are as fun as this one! Hope you enjoy them!!!

Photobucket

Photobucket

Photobucket

Photobucket

Photobucket

Photobucket

Photobucket

Tuesday, October 5, 2010

The Book Wreath

So I know you probably want to make a book wreath too!! So here a few of the ones I found. All equally fantastic!!!

This is the one I went with:

book wreath

here is another:

book wreath

another take on it:

book wreath

And this one I have admired for SOOOO long

book wreath
and really admire EVERYTHING she does (The fabulous Danielle, or Dandee)... I'm lucky enough to know this creative mama. She lives by & is super close friends with my SIL, and sometimes come to visit us down here in texas with said fabulous SIL.
Be sure to check out her most recent posts too about the super creative Project Craft that she and the Lovely Lindsay put on. Makes me wish I lived there so I could have attended. I told her she needs to make project craft a traveling event and bring it here to dallas... any else here in on that?!?!? Ok, stop reading this and click her link!!!

Monday, October 4, 2010

Hope you had a great weekend!!

We had a great weekend!! Lots of soccer games and lots of relaxing. Can soccer games and relaxing be int he same sentence???

Well, I made one of these for our house this weekend. After seeing lots of different versions of them floating around on the internet I thought this one looked pretty good. SO I gave it a go. And guess what... it cost me a total of $3!!!! How about that????

It's a book wreath. I love it. It's a little bigger than I thought it would be, and it took a lot longer than I thought, but worth it.


Thursday, September 30, 2010

Halloween Tags for you!

Since it's thursday and that means that three of the 4 kids are home all day we decided to do some "projects" to help make the time go by a little bit faster! Since tomorrow is Oct. 1st we wanted to make the boys teachers a fun little halloween goodie to sit on their desks and to tempt all the little children!! :)

So we just got some of our canning jars out, filled them with candy corns, and printed out these cute little labels to slap on top! So fun! So easy! So cute!

And we thought it would be nice to share the cute little circle tags with you! So enjoy! Click here to download!

Tuesday, September 28, 2010

Play dough Recipe!

As promised, here is the recipe for making your own play dough! It's really easy and believe me, when you tell your kids you know how to make it they will have a renewed love for you and a new found respect! What mom can't use a little of that???

So here's the recipe:

2 c. flour
1 c. salt
4 tsps of cream of tartar
2 Tbls of oil
2 c. boiling water
2 pkgs of unsweetened kool-aid

Mix the dry ingredients. Add the kool-aid to the water. Then mix the flour mixture and colored water. Knead, cool, play, and smell!!!

Now, when we did this the first time i used two packs of yellow or what I thought was going to be yellow (lemonade)... don't disappoint your kids the first time around and do like i did... the lemonade one doesn't really do anything to it color wise.

So go make some play dough... and don't forget to smell it too!!! yummmm!


Saturday, September 25, 2010

Itsy Bitsy Photography

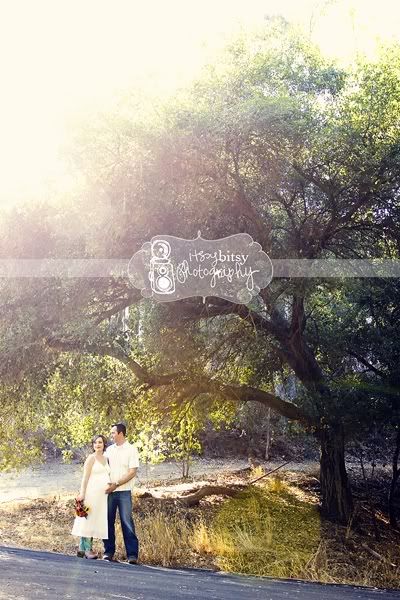
On thursday I was contacted by Sarah of Itsy Bitsy Photography to come up with some cute watermarks for her images!! She just said she wanted a vintage camera feel, so that's what we did! I actually made her three different designs. That way she can switch them up and never get bored of them! So thank you Sarah! I had so much fun designing these!!! And what do you all think?? Isn't her photography amazing?? If you live in Temecula, CA you may just want to visit her site and set up a session!!!

If you're a photographer or even just a mom and want a custom watermark for your blog photos send me an email and I'd be happy to get started on a fun design for you too!!!

Photobucket

Friday, September 24, 2010

The lovely Cheryl Muhr

If you don't know who Cheryl Muhr is you should google her right now. I was lucky enough to meet her a little over three years ago and fell in love with her. She is amazing person, not to mention photographer and teacher!!!! Seriously, she made my business what it was because she was so open and willing to help and share her knowledge!

So I emailed her recently to ask her if I might use a few of her images for some of the things i'd been working on. I wasn't surprised when i not only heard back from her, but she said, YES. You can use my images!!! Cause that's how super nice she is.

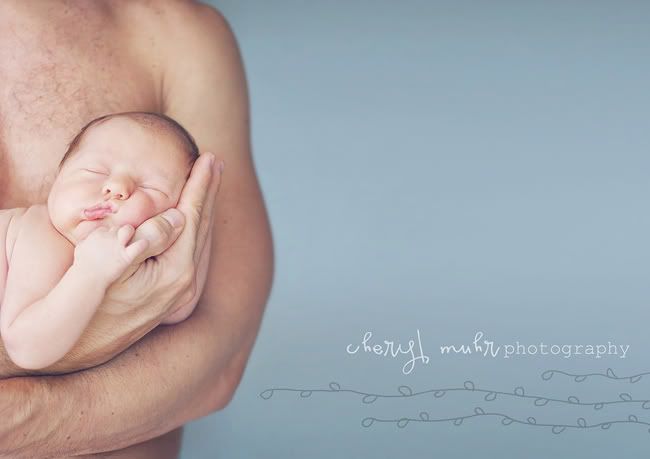
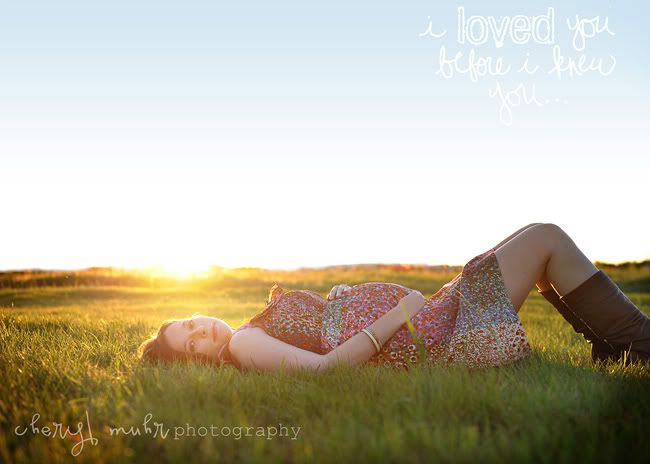
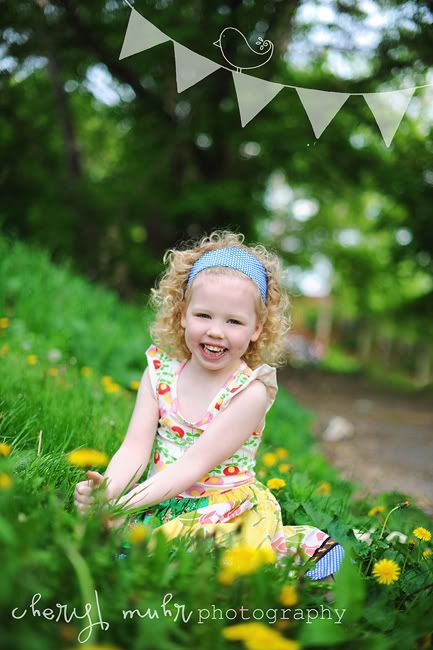
So this morning i was all giddy when I woke up to find images that belong to the amazing Cheryl Muhr sitting in my inbox... MY INBOX! And not only were they beautiful, but they were some of my favorites by her. I think they scream cheryl!

So thank you Mrs. Muhr for letting me use your images! I used some of my photo overlays on them! The overlays work great for print and web. I love how they add just a little bit of jazz to a photo for the blog. Can you imagine how cute they'd look on baby announcements???? Seriously. A cute little doodle with the babies name, weight, length, and birthdate... I just sparked a little idea for my own new little guy...

Enjoy the photos, and again, thank you Cheryl, your work never ceases to amaze me!

Photobucket

Photobucket

Photobucket

To purchase these sets click on the link to my etsy shop, or scroll down and you'll find a buy now button for both sets!!! And i'd love to see what you make with them!

And just for fun! Leave a comment and we'll give a set away!! Next week! Tell me which is your favorite and why!!!

Thursday, September 23, 2010

Grilled PIzza

I'm not known for cooking. Not at all. I made cookies a few weeks ago and my husband said, "I think this is the first time you've ever made homemade cookies since the first year of our marriage." Well, it hadn't been that long, but seriously long enough! I don't love to cook, but now that our family is getting bigger I want to start getting better at it. We can't take 7 people out to dinner on a regular basis. That'd be way too expensive!

So this week we tried a few new things. One is now a new favorite of ours! Grilled pizza! Sounds hard, but it's not! Seriously. If I can do it, you can do it!

First I tried to find a good pizza dough recipe and made it according to the directions. If you're not into making your own dough just hit up your favorite mom and pop italian restaurant and I'm sure they'll be happy to hook you up with some dough balls and sauce! That was my original plan, cause remember... I don't like to cook, but i didn't have enough time to drive there. So then I made two dough balls. Let it rise and divided it into 4-6 smaller balls. THen made em flat with all my skillz, heated the grill to med. and brushed it with olive oil and slapped that dough on there. I left the lid open and let each side cook for 2 minutes. The dough rose pretty fast and cooked great! THen I yanked those suckers off of there and made a stack of them! Brought them inside and each kid got to spread their sauce and top their pizza! Then we turned the grill to LOW and shut the lid with them back in there. It only took about 3-4 more minutes and the cheese was melted and the toppings were hot!

All this pregnant woman can say is YUM. We'll be making those again for sure!!!

You should give it a try. Your kids will think you're amazing!

We even made home made playdough today... it was so EASY! I'll post the recipe for it later!


Monday, September 20, 2010

Q &A

I get asked a lot of photography related questions and thought I would start answering them here. I love to help others get started on their little journey into photography!

I've mentored several people and last week had the chance to help a friend get her feet wet when it comes to editing. We talked workflow, raw vs. jpeg, to use actions or not to use them, down to the nitty gritty of exactly how I edit.

We had a great time and as we were talking it made me realize just how important it is to get it right in camera. When you first start out shooting manually though many people tell you to under expose. While this is good if you shoot raw it's not so great if you shoot jpeg. But why Toni? See, I know that's what you're thinking... Because it causes your subjects eyes to have dark circles and look more like pits and it also causes muddier looking skin tones. I would be willing to bet that most of your favorite photographers out there all OVER expose their images and not under expose. This helps the skin appear smoother and milkier looking.

It takes time to learn your camera and it's settings, but the truth is that for you to have a properly exposed image that is print worthy you'll need to have a few things in check:

1. A good understanding of light.
2. A good knowledge of your exact camera and how it works exactly in each and every lighting situation. And by your exact camera I don't mean canon vs. nikon, or rebel vs. 40D. I mean YOUR camera.
3. ISO

Each camera is different. When I first started out I owned a Nikon D50. I loved it. It was a great camera. I knew that camera so well that I knew exactly where my in camera meter should be for every situation. The way I shot and the light that i tended to shoot in required me to over expose by about a full stop. Which to a newbie may be a lot, but that's what I did and that's what worked for me and my camera.

Understanding light is SO so SO critical! Clean light is what you want. But where do you find it? Really, you can find clean light in open shade or in full sun. A lot of understanding light is knowing how to use it to your advantage. It's perfectly fine to shoot in full sun and it can be really great if you know how to position your subject in it. Typically you wouldn't have them looking right the sun because we all know that would make anyone squint, but having the light fall on them from the side looks amazing and adds great contrast to a photograph or a clients gallery. When shooting in the shade it's important to try and have them still face the light. I you're in the shade and have their backs to the light you're loosing out on a great opportunity to utilize the fabulous open shade you just found... Rather than having amazing catchlights for that perfect open shade you just found you'll probably still have a nice photograph but you won't know it's true potential until you start placing your subject toward the light!

Also, ISO. I try and keep my ISO as low as possible. It keeps the image quality more pure and makes your job editing that much easier. I try to never shoot over ISO 400 and tend to shoot between 60-200 ISO. The more you raise your ISO the more artificial light your adding to your photograph... and why would we want to do that when we just spent all that time trying to find the amazing light we just found???

I also am not afraid to break the rules and go against the grain of what and how everyone else shoots. It's why my clients came to me and what made me and my style different. I was perfectly ok with the sky blown out behind my subject if I put them in a back lighting situation. I was ok with it because I knew it was going to happen. I placed my subject there knowing what the outcome was going to be before I ever pressed the shutter. And once you begin to understand the light and the different situations you're in you'll begin to know exactly what it's going to look like too before you ever place them in the light.

So the next time you go out to shoot try to over expose just a tad. Start with a 1/3 of a stop and then try 2/3's and then try 1 stop, edit all three and then see which one looks best. Remember to do it all on the same subject in the same light. Doing this several time will help you start to know where your camera performs at it's best... and where you do to. Then ty putting them in open shade facing the direction of the light. I think you'll be so happy and amazed at how beautiful your photographs look after trying those two simple things!!! oh yeah, and keep that ISO low!!

If you have any questions you'd like me to try and answer I'd love to! So just let me know! You can leave a comment in the comments section or send me an email!

I hope everyone's having a great monday so far! I'm going to go take a nap now... I'm kind tired since I am growing a baby and all that kinda stuff! :) I'll try and post some pictures later of different situations of light and how i used it.

until next time!

toni

Wednesday, September 15, 2010

are you itching for a new look for your blog?

If you're like me you are probably always wanting to change things up! For the longest time i thought if only I had a wordpress blog I'd like mine better, but alas, I figured out how to get the look I wanted.

And now I'd love to offer you some of my other designs. I have pre-made blogs ready to go! They even include the headers if you'd like them to. I will do the html for your blogger blog and have it up and running in a days time! How about that???? You won't lose any of your posts, links, or sidebar stuff. And i'll even add a little piece of blog art to the sidebar to help your blog feel even more fun.

It includes:

-background
-header
-installation
-custom fonts
-2 or 3 column design
-mini etsy showcase if you'd like
-linked within if you'd like
-blog art

Price for this pre-made custom blog: $75

Here are some screen shots of the three ready to go. If you look to the right in my sidebar you'll see three buttons that say "sample blog1, sample blog 2, and sample blog 3"... if you click on those you can go to a live version of that blog!


and if you'd like to see another blog I recently designed for someone here's a link:

my little rays of sunshine

In the notes to seller section just tell me which sample you like best. I'll be adding even more samples over the next few days... so get ready to LOVE blogging again!


Tuesday, September 7, 2010

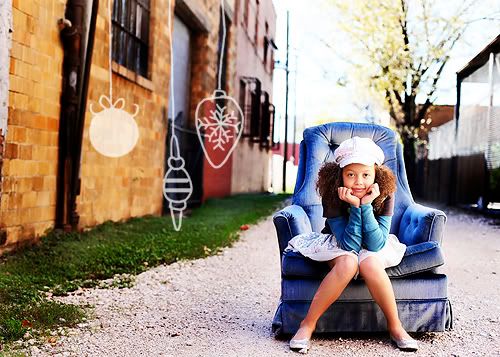
christmas photo and scrapbook overlays:

Well, in all my spare time..... (haha, is there sucha thing???) I came up with another overlay set! I love this one, because it's great for christmas stuff! They're so easy to use, change the colors, size... what ever you want to do you can do! Be as creative as you'd like!
These are again at an introductory price of only $15. So hurry up and snag them!
Photobucket
Photobucket
Photobucket
Photobucket
Photobucket
Photobucket